You want to install Zima OS, but want to try it in a virtual machine first. More specifically, in a Vmware Workstation virtual machine. I looked for more out there, and couldn’t find much in a Google search – I think some of that has to do with prior versions of ZimaOS (at least 1.0) released with a pre-made drive image for Workstation. But not for a long time. Its just a drive image intended for a USB drive and not an .iso file.
The base of these instructions are for Vmware Workstation
17.6.3 build-24583834 and the ZimaOS 1.5.0 installer. New versions will exist and these details may vary.
Some of this may be universal to other platforms, but I really wanted to get this working on Vmware Workstation (this time around). Here’s what you do:
- Download the ZimaOS installation image. It’s going to come at an .img file – in my case zimaos-x86_64-1.5.0_installer.img. You aren’t going to place this on a USB disk, instead…
- Grab the free StartWind V2V Converter (I’m using 9.0.1.722) and convert (local file) with the above .img file to (local file) and chose VDMK. I would suggest the pre-allocated ESXi image in case you want to take this elsewhere.
- Create a new virtual machine and pay close attention to these settings:
– In the VM Settings, Advanced and make sure the Firmware Type is set to UEFI.
– Add the first drive, the VDMK you created in step 2 and chose to convert it (if asked). Add this as IDE 0:0. This will boot first by default.
– Add a second drive with more than 8GB space – I would suggest 40GB, but if set to 8GB or less, the install will fail. Also, the drive won’t be recognized if it’s a type SCSI, so perhaps use NVME or SATA. - Boot into the installer, select the data drive and start the installation.
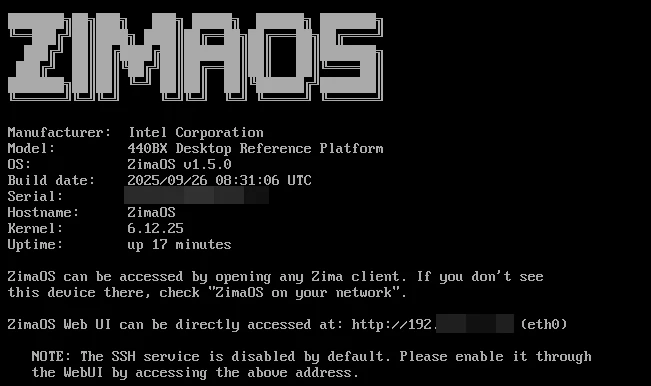
- Once installed, look to the console for the IP your OS and load that in a web browser.
Some notes:
– The installer creates the data space for CasaOS, and if it cannot do so, your VM will not boot. You’ll get various error messages including a timeout waiting for casaos_data.
– After installation, set the boot order to prefer the non installer or remove that drive altogether
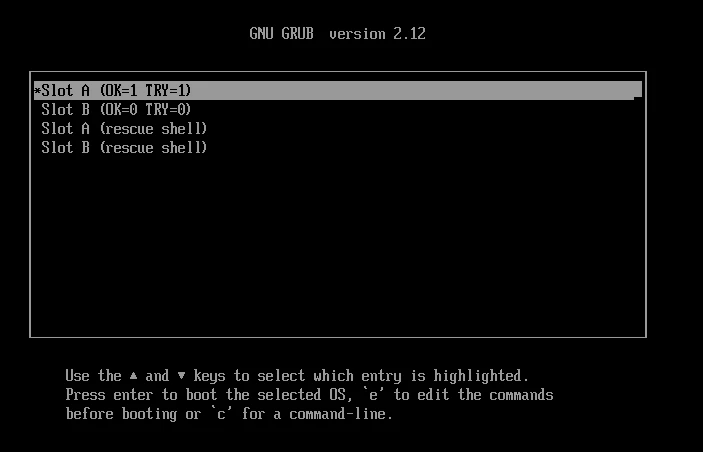
Now, with it running, if you have an ESXi server and want to move it there, you can do that pretty easily with the Vmware Vsphere Converter Tool. If you run into issues, there is a grub boot loader you can get and a rescue shell (just keep pressing down arrow while in focus). With this shell, use the lsblk -f command to check and see if the data mount point has been created.

All goes well, you’ll have this great OS running in your VMWare space that you can test as you need. I have cloned it to ESXi also, and it works fine too. I would love to hear from others who might try this process. Your feedback will help me refine this post.