Rooting The Nexus 7 Tablet
 While still young, Google’s Nexus 7 tablet can be rooted. One of the more amazing things about Android is the sheer number of devices that are easily rooted an handled. In this article, I’m going to show you what it takes to Root the Google Nexus 7 tablet (and some of the things you can do with that). First, some words of WARNING: Doing this will delete all the data on your device and can brick your shiny new Nexus 7. So, be careful and understand the consequences.
The first thing you going to need to do is prepare for rooting. You’ll want to download an install the Nexus Root Toolkit (a 130 MB download) and also get your Nexus & ready to be rooted by turning on USB Debugging. Do that by opening Settings –> Developer Options –> Turn ON Developer Options – -> Enable USB Debugging
2. When installing the toolkit, you’ll be asked for the version of your Nexus 7. Currently, there are only a few models. You get the model information on your tablet from the Settings –> About –> Build Number. If you have the JRO03D build, you choose the JRO03C build for now.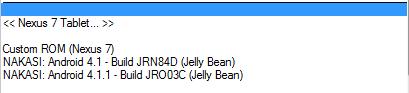
3. Install a Driver – This step is for the more advanced user, but you’ll want to connect your Nexus 7 by USB and install drivers for it from where the Root Toolkit was installed. Usually: c:Wugs_NexusRootToolkit.v1.5.2datadrivers. If all goes well, you’ll have the following driver installed for your Nexus 7 Device: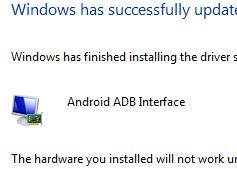
4. The next step is to backup your stuff (if you have any). Rooting the device will wipe data so make sure you go into Backup Utilities and do a full backup.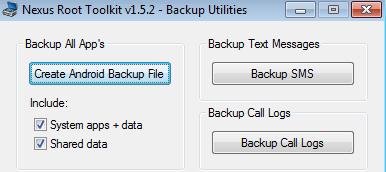
5. Unlock your Nexus 7. This is just a click in the main window of the Root Toolkit and will wipe your tablet and reboot it a few times. Get through all this and you’ll have the Tablet unlocked. Even the unlock screen on a tablet boot is ominous (May void warranty?).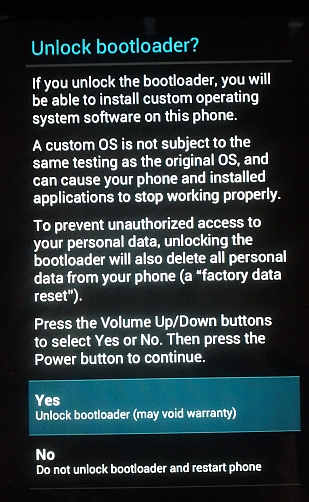
After you have unlocked the device, you’ll have to go through the basic setup and once again enable USB debugging before continuing to the next step.
6. Root the Nexus 7. All goes well, the device will reboot a couple times, install a few things and your Nexus 7 is rooted. Now you can install applications that require root access.
Have you tried this yourself? How did it it go for you? Do you need more details? Check out this video of a fellow rooting his Nexus 7.